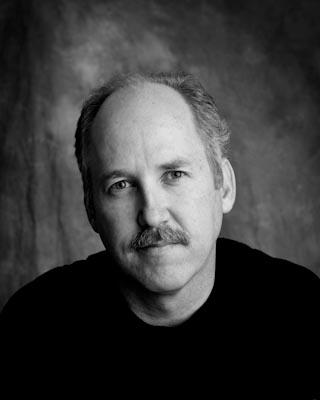
Ron Hunt Photography bio picture
  • Welcome to my little corner of the InterWeb!

    This is quite simply, A work in progress. Much like life, we are never actually finished, but rather are simply turning another page of life.

    I simply have a love of photography and editing software of all types. Inside you will find different pieces of my work that I hope brings you just a little happiness.

    I believe in photography as a raw display, but also firmly believe we should use all tools in our toolbox. If you are the next Ansel Adams, by all means stay the purist and refuse to edit in software. For the rest of us we have software to help create what I hope is Enjoyable Art.

    My blog will mainly be random ramblings, usually of whatever photo I choose to upload and discuss.

    In my mind a photograph comes from the camera, and Photographic Art comes from the heart and mind.

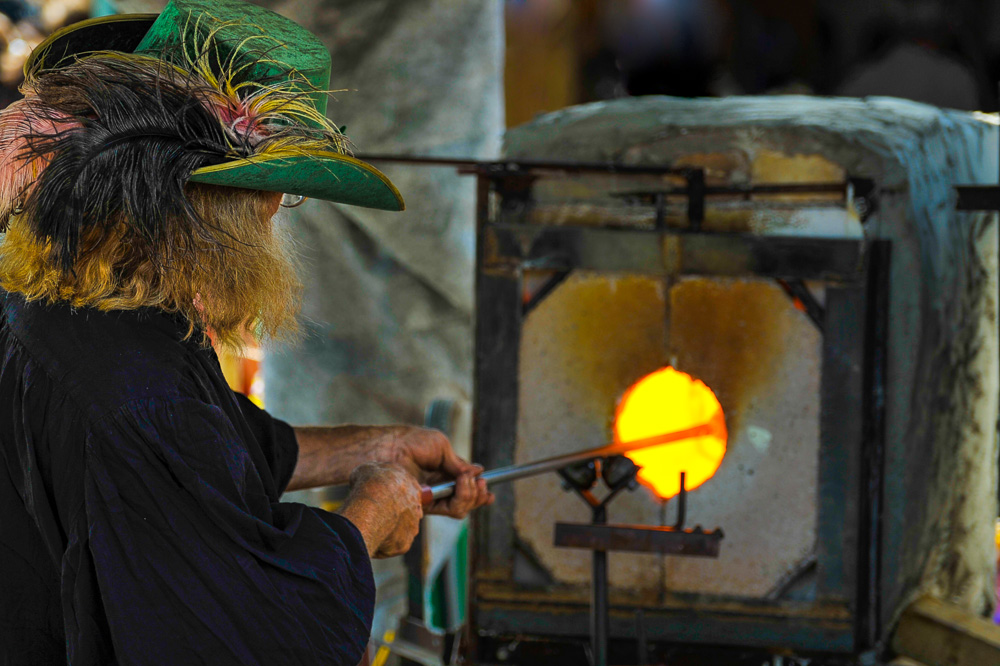
Glassmaker

I was wandering the Ren Festival looking for interesting things to shoot.  If you have ever been to one, you KNOW it is more about picking what isn’t TO “interesting”.  We will just say you get to see a number of “characters”.

I have always been interested in the idea of glass blowers and just loved the mix of colors on his hat, his hands and of course the intensity of the oven.  I was curious how well I could balance them without blowing out the oven.  I had to lower exposure so that I was exposed for the oven, and that over course created a dark image on the gentleman.  Since I shoot mainly RAW I was able to copy this and created a second image that had the subject exposed.  Using CS6 I layered them and used a mask to “draw in” the correct exposure.   I could have used my HDR Pro software to do HDR with a single image, but I wanted to do it manually and see how I did.

I also had a few distracting people (they never realize I should have free reign of all areas..  rude people actually enjoying themselves.. sigh).  I had some bodies behind the oven and used CS6 to remove them.
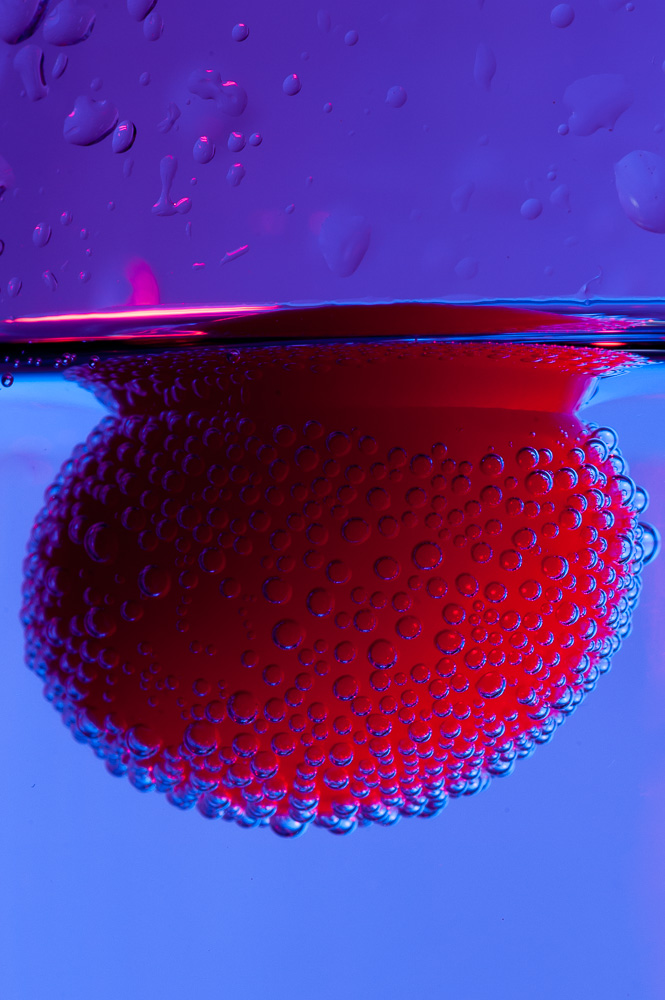
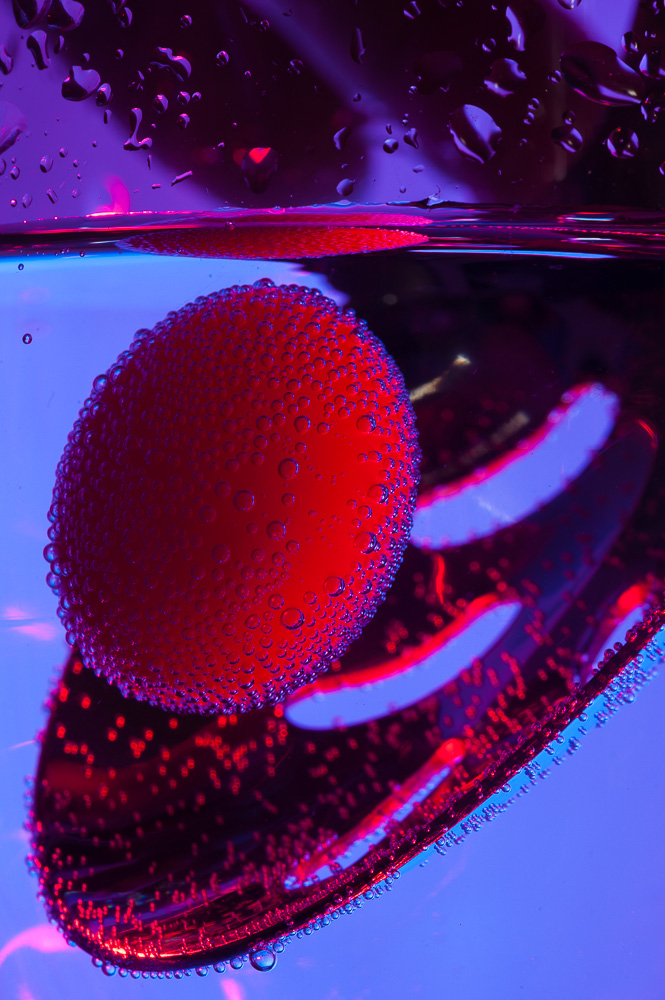
Macro Fun with Water

Just some fun shots of bubbles, straws and a cherry tomato.  I used my Nikon d700 on a tripod, with the R1 flash system and a Tamron 90mm 2.8 Macro lens.  The flash was used both off camera, one for the background and the other to illuminate the “subject”.  Gels were used to provide the color contrast.  A very small amount of editing was done in Lightroom 4.

Snowflakes

I have always wanted to try my hand at photographing snowflakes.   I was using d700, Tamron 90mm 2.8 macro lens, tripod and remote controling using CamRanger and my iPad.   Playing remotely let me fully control my camera covered in a towel, while I sat inside nice and warm sipping coffee.

My original plan was to capture a flake falling.  We will just say that I failed completely at that and decided to switch to the ones that weren’t moving.   Having said that..  you have no idea how quickly the flakes begin to melt/break as they sit there.   Also when looking this closely, it looks like a bomb going off when another flake hits the one you are trying to capture.  This is the best I could do for now.

Post processing was done in Lightroom, Shapening Pro 3, Define 2, Perfect BW 1.    I was using the CamRanger and attempted to do some Focus Stacking so I could play in photoshop to expand my depth of field.  For some reason I struggle trying to get it to really change my focus.  I will have to continue to play and figure it out.

Stockholm.. Pie and New Macro lens tests

Tracy determined she needed Pie.  We took a trip along the river to Stockholm Pie Shop, and I must admit it was strange not being on the motorcycles.  I just got a macro lens (Tamron 90mm 2.8 macro) and of course had to try it out.  In typical winter situations, things were a bit “blah” so I went for close ups ( I DID just get a new Macro lens of course!).   These are lightly edited using Lightroom (basic edits and cropping) and Photo Effects 4.  i was mainly seeing how the lens worked out, and the sharpness.  Considering I was hand held, I am extremely happy with the lens..  and only paid $280 used.

The Power of Retouching

We all want to be better looking.. ok, well maybe it’s just me, but for now just agree with me!  I’ve had a number of people asking me about the “extent” a photo can be Retouched with software.  Software these days makes it relatively easy to do most anything, from small facial blemishes, smoothing skin texture, to major full body make overs.  In the “old days” it was called airbrushing, and many still refer to it that way today.  The power of Retouching is great, but one must also remember the point of the photo to be modified.

If you are taking a family portrait then the amount of Retouching should be slight to not stray that far from reality.  Now this doesn’t mean to do nothing..  just do so with a strong eye towards truth.  Now sometimes the truth is just not what we are after, like models, artsy shots or just plain the desire to look aMAZing.  Here is a relatively strong example of a face makeover with an eye towards truth.

This is a rather extreme example, but it shows some of the possibilities.  The model wore no makeup so I cleared blemishes, smoothed and softened skin, smoothed slight wrinkles.  I also did not like the  eye peeking through the hair, so we added some!  The “Fakeup” (fake makeup) applied was blush, skin tone tweaks, lipstick, eyelash extensions, and a glitter eye shadow with a liner.  I liked the red in her hair so we enhanced that as well to add some POP.  I finished it all off with a slight whitening of eyes and teeth.

The subject was pleased and in reality it was nothing that most women don’t do most every Friday and Saturday night.  So is this “Wrong” for a Portrait??  I suppose Beauty is in the eye of the beholder (and the guy with the Tablet and photoshop!!!)